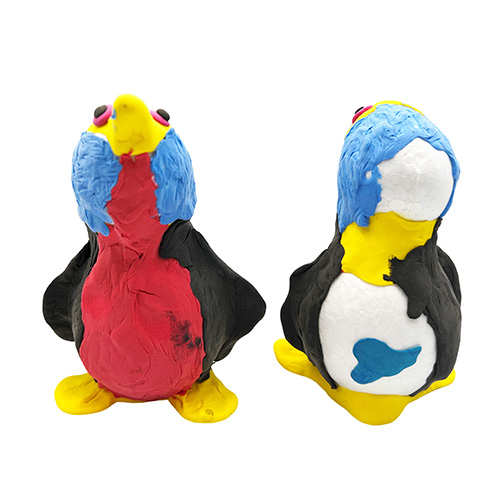
Magiclay is a versatile and fun-to-use paper-like clay that dries hard, allowing you to create beautiful shapes and sculptures. In this guide, we’ll walk you through the step-by-step process of using Magiclay to cover polystyrene balls or shapes and mould them into unique creations.
Materials Needed:

Use Magiclay products to create amazing shapes and sculptures – see our Magiclay gallery for some inspiration!
Step 1: Prepare Your Workspace
Choose a clean and flat surface to work on, preferably covered with parchment paper or a plastic sheet to prevent the clay from sticking. Make sure you have all your materials within reach for easy access during the process.
Step 2: Soften the Magiclay
Take a small portion of Magiclay clay and knead it between your hands to soften it. If the clay feels too hard, you can add a few drops of water to make it more pliable and easier to work with.
Step 3: Cover the Polystyrene Shape
Place the polystyrene ball or shape on your workspace. Roll out the softened Magiclay clay into a thin sheet using a rolling pin or by pressing it flat with your hands. Carefully wrap the clay around the polystyrene shape, ensuring that it covers the entire surface evenly.
Step 4: Smooth and Shape
Use your fingers or a small amount of water on a brush to smooth out any seams or wrinkles in the clay. You can also use sculpting tools to add texture or details to your creation at this stage.
Step 5: Let It Dry
Once you’re satisfied with the shape and texture of your Magiclay-covered object, set it aside to dry. The drying time will vary depending on the thickness of the clay and environmental conditions but generally takes a few hours to overnight.
Step 6: Add Finishing Touches (Optional)
After the Magiclay has dried completely and hardened, you can further embellish your creation with paints, glitters, or other decorative elements to enhance its appearance.
Step 7: Display and Enjoy
Your Magiclay masterpiece is now ready to be displayed! Whether it’s a personalized ornament, a decorative accent, or part of a larger project, your imagination is the limit when it comes to what you can create with Magiclay.
